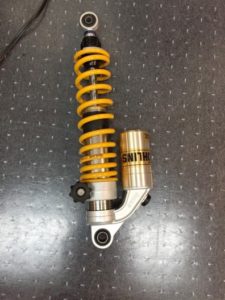
Öhlins Shock Reseal How-To:
Here’s an Öhlins Shock Rebuild How-To. I will be making a video soon to accompany this. You need to have basic and some advanced mechanical skills.
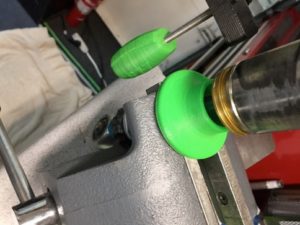
I have the complete 3D Printed tool set available. I need to make a couple changes to the dribble cup, and figure the pricing. Stay Tuned to this Bat Channel 🙂
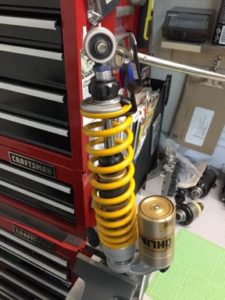
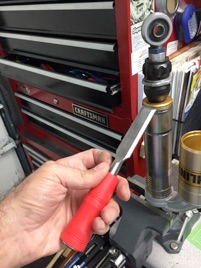
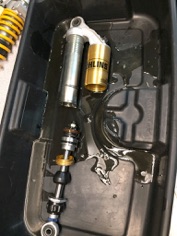
First you need to remove the spring. There are several ways to do this, and several special tools to make it easier. My tool I purchased in 1976, and have not seen another like it since…I need to make them someday.
Next, remove the circlip, spring guide and circlip
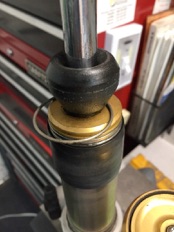
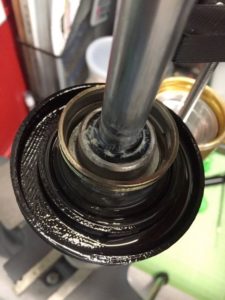
Deflate the Nitrogen, compress cap, remove internal circlip and remove cap with ELS tool
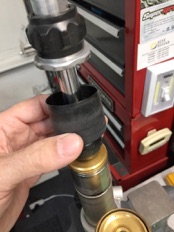
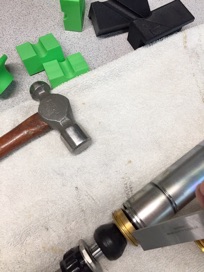
Cut a wood chisel as shown in an arc, then with it and a hammer remove the aluminum seal cap. It helps to lay it on about three layers of terrycloth towel.

Use special ELS tool to compress seal head and then remove internal circlip
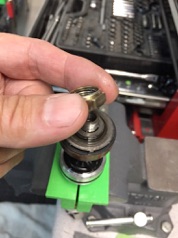
Remove nitrogen piston and piston ring with ELS depth tool
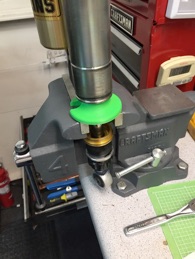
Remove valving shaft and mount in vice with ELS 14mm vise jaws. Remove retaining hardware…this varies in apperance depending on build date…use a bar in shock eye to hold shaft from rotating.

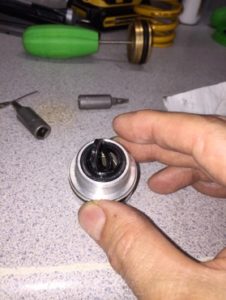
Insert cable tie thru shim stack to maintain proper order of components. Remove circlip from shaft.
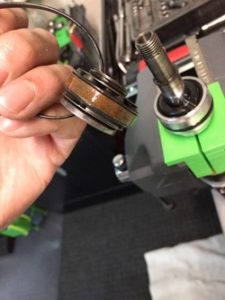
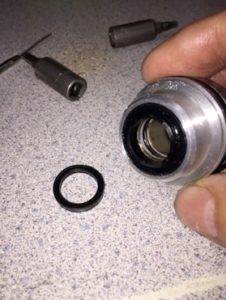
Remove seal head. Carefully remove X-Ring WITHOUT scratching seal head with a small dental pick. Leave rest of seal head intact.
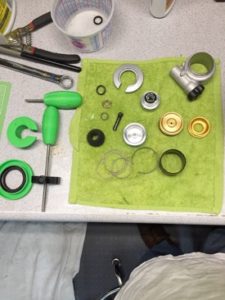
Clean everything with mild cleaner…stickers and finish are easily damaged…Dawn dish soap, S100 cleaner, mild is the key! Blow off water with compressed air. Let dry in sun, or in oven at 125º F.
Use Lubriplate Aero grease on all rubber components.
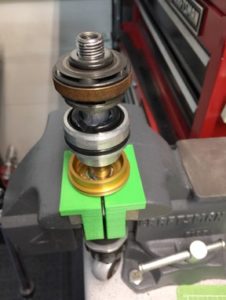
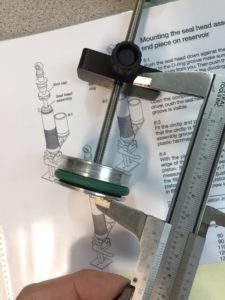
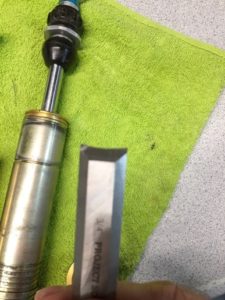
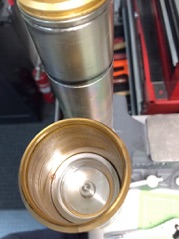
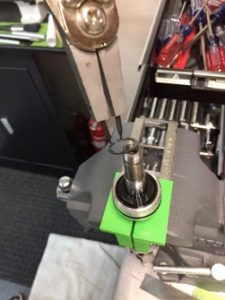
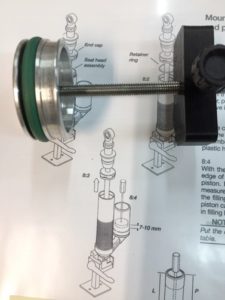
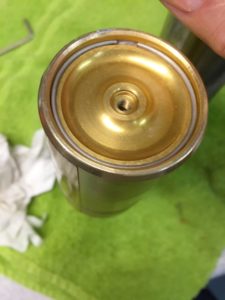
Measure the depth of the nitrogen piston per the manual at 7-10mm:
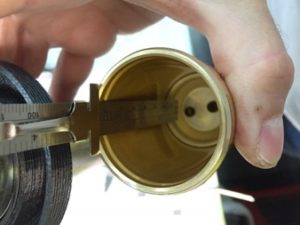
Measuring the depth with a scale:
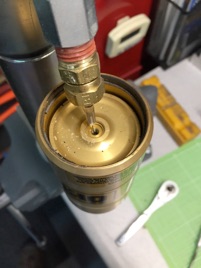
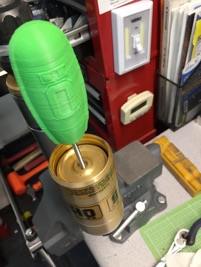
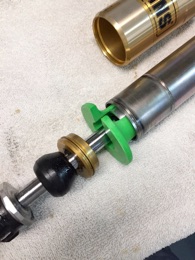
Fill shock with oil per the shop manual instructions. Insert shaft and use Seal Head Tool to allow room to instsll circlip. Note useage of Depth Gauge, this will be used to set the piston height.
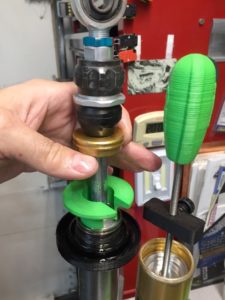
Install circlip, note usage of spill guard to minimize mess.
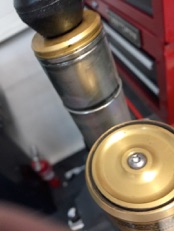
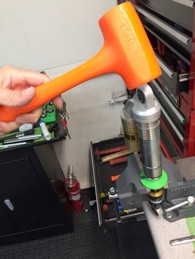
This is the easiest way I have found to reinstall the aluminum cap. I use a deadblow plastic hammer on the shock to seat it.
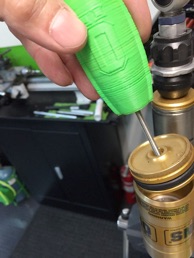
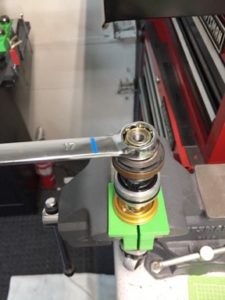
Remove Bleeder Screw and set nitrogen piston height, tilt shock as needed so the hole is at the highest point possible. Reinstall screw and o-ring.

Install nitrogen cap and circlip.
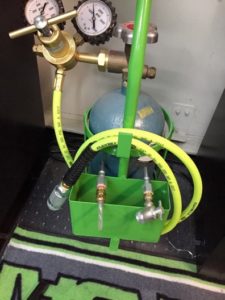
Set nitrogen pressure per manual. You can use air, may race teams do (I did not tell you that) I use nitrogen, and this shock uses a hypodermic needle tool available from MotionPro (Some use a special Schrader Valve setup, also from MotionPro) and a small nitrogen tank is available from any welding supply and the gas regulator can be purchased from Amazon or you can go to ANY shop that works on dirtbike suspensions for a nitrogen charge…this is like a once every 5-10 year deal for most, so find a friendly suspension shop 🙂
Eventually, I’ll do a complete video on this…eventually.
WARNING: ELS Products MAY CONTAIN, or be Made With, Patented Parts, Tools, Components and/or Apparati. Manufacturing Facility DOES Contain Nuts.